
Key Highlights
- Crystal-Clear Monitoring: Keep a watchful eye on your equine companions with pristine video quality, ensuring their well-being around the clock.
- Seamless Installation: Our user-friendly design makes setup a breeze, getting you up and running in minutes.
- Unwavering Reliability: Built to withstand the elements, rest assured your camera is in it for the long haul.
- Smart Features: Benefit from advanced capabilities like motion detection and night vision, providing unparalleled peace of mind.
- Stay Connected: Access live video feeds and receive alerts directly to your mobile device, keeping you informed no matter where you are.
Introduction
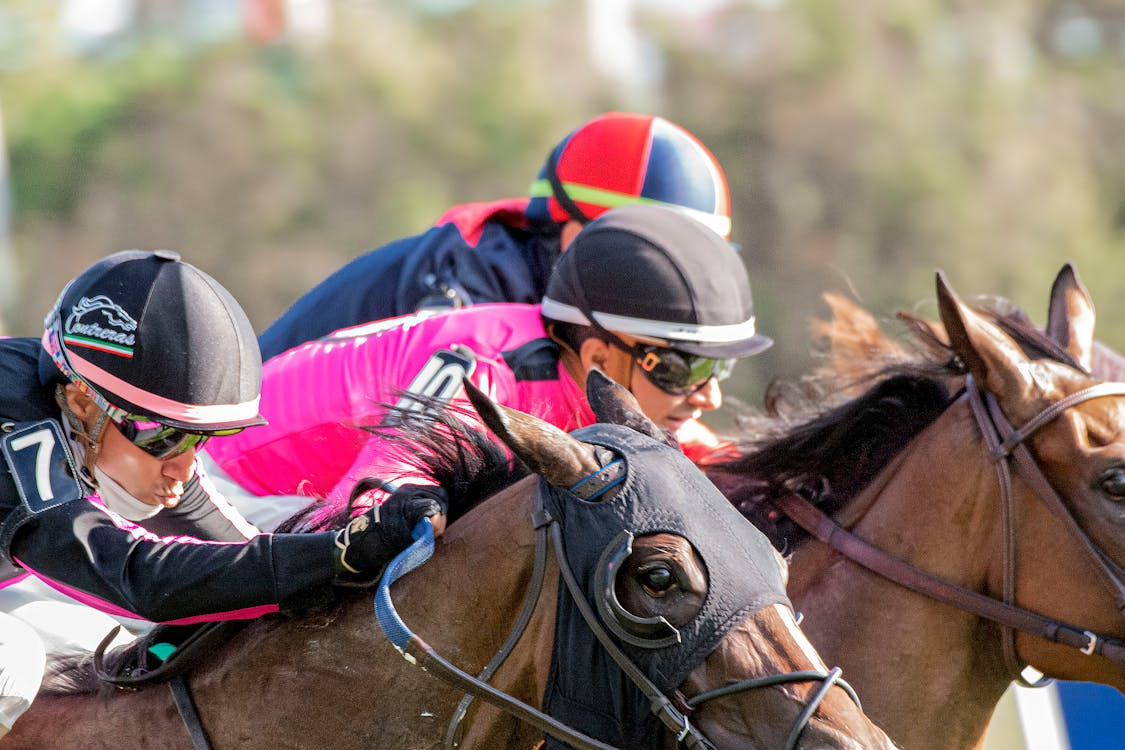
Photo by @coldbeer
The Equine Eye wireless horse trailer camera provides a live video link through an intuitive app that gives horse owners a great way to keep an eye on their beloved animals, receiving rave reviews from users in NZ. With a rear camera option that can also provide supervision as a reversing camera or stable camera, and two versions of the intuitive custom app available for both iPhone and Android, it provides peace of mind, highlighting key features and the connectivity options of the most advanced wireless float camera for standard floats and large float trailers, including the home camera functionality, especially where a stable phone signal is available. This easy guide will help you set it up with a quick installation process that includes a charging cable suitable for larger setups. You will learn the steps for installation and get the best use out of your Equine Eye wireless trailer camera, which boasts an impressive hours battery life for extended monitoring. We will talk about finding the right spot and adjusting the settings for the most advanced wireless float camera live streams. Let’s make sure you have a simple setup and the best performance for monitoring your equine eye horse camera.
Steps to Effectively Install the Equine Eye Camera for Peak Performance
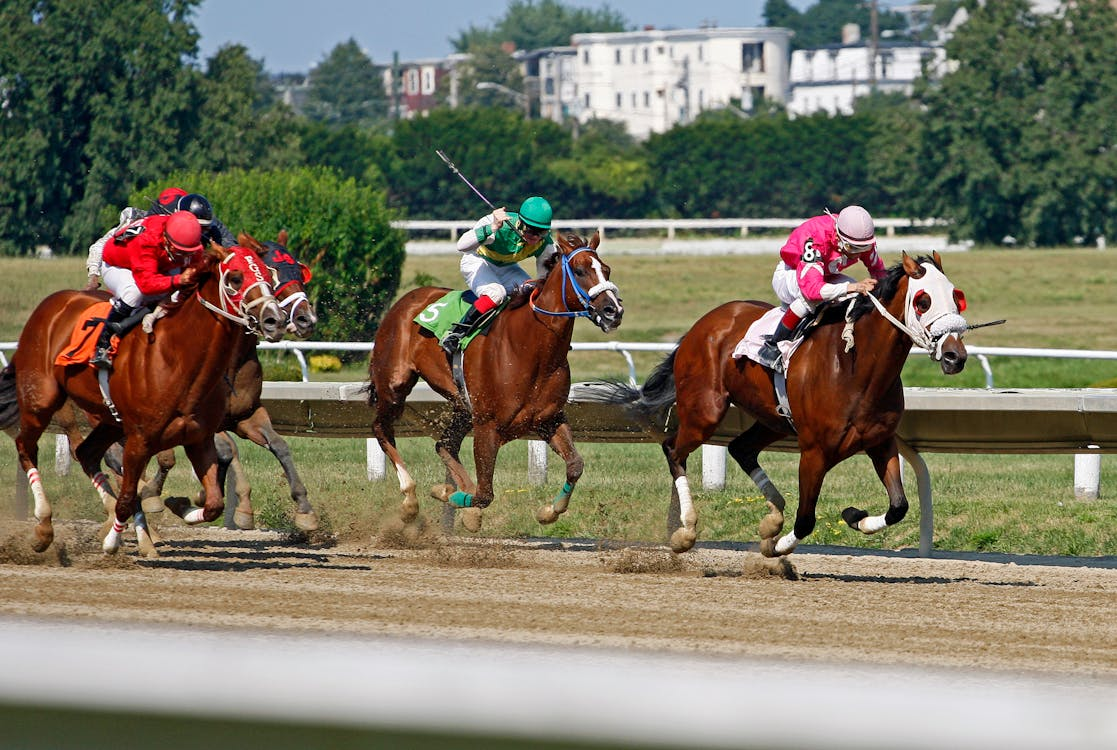
Photo by James Anthony
Achieving the best use of your Equine Eye Camera starts with a good installation. This helps your camera to take clear videos and work properly. It will give you the information you need. We will walk you through every step. This way, you will have an easy and successful installation.
If you follow these steps closely, you will enjoy all the benefits of the Equine Eye Camera. Let’s start setting up your camera and find the peace of mind it can offer.
Identifying the Optimal Placement for Your Equine Eye Camera
Optimal placement of your Equine Eye Camera is very important. It helps you keep a close eye on your horse’s activities in the paddock or stable. Look at the camera’s field of view. Also, think about where your horse spends most of its time.
When you pick a spot, choose one that has few obstacles. This gives you a clear view of your horse’s movements. Don’t forget to check the camera’s range and its closeness to a power source if needed.
A well-placed camera works better. It gives you a clear view of your equine companion’s environment. This helps keep them safe and gives you peace of mind.
Preparing the Installation Area for the Equine Eye Camera
A good installation area is key for a smooth setup of your Equine Eye Camera brand. Start by removing anything in the way at the chosen spot. Make sure the surface is solid and flat for mounting.
If your camera needs power, check that it’s easy to reach from that spot. Also, consider the length of the cord to avoid tripping hazards. If you’re using a wireless camera, ensure the WiFi signal is strong where you plan to install it.
By addressing these details ahead of time, you can ensure a hassle-free installation and fully enjoy the valuable insights your Equine Eye Camera brand will provide
Choosing the Right Mounting Hardware
Selecting the right mounting hardware is very important. It helps keep your Equine Eye Camera steady and lasts a long time. The right brackets and screws will hold the camera securely, even in tough weather.
Make sure to choose hardware that meets American safety standards. This will help ensure it is reliable and strong. Use materials that resist corrosion, especially if your camera will be in moist areas.
Here are some factors to think about when picking mounting hardware:
- Camera weight and size: Make sure the hardware can support it well.
- Mounting surface: Pick screws or bolts that are designed for your specific material.
- Environmental factors: Think about weatherproofing if you are placing it outside.
Ensuring Proper Camera Orientation
Proper camera orientation is very important for getting the best results from your Equine Eye Camera. Make sure to think about the camera’s field of view. Adjust its position to capture the area you want clearly. This way, you won’t miss any important moments.
Pay attention to the direction of natural light, especially at different times of the day. Change the camera’s angle to reduce glare and improve visibility. If your camera has night vision, point it toward the area you want to watch at night.
By adjusting the camera’s angle, you can improve its coverage. This ensures that it captures all the important details you need, allowing you to monitor your equine companion effectively.
Securing the Camera Mount
Securing the camera mount is very important for keeping it stable over time. This is especially true when the weather can change a lot. Strong mounting methods help keep the camera safe, even in heavy winds or rain.
Using the right anchors and making sure it fits tight can stop it from moving or falling off. This protects your investment and helps keep your monitoring going without interruptions.
After you mount the camera, give it a light pull to make sure it’s attached well. It’s a good idea to check how sturdy it is often, especially after bad weather. This way, you can ensure it works reliably.
Positioning the Camera for Optimal Viewing
With your camera in place, work on getting the best viewing angles. Change the camera’s position to cover the most important areas of the stall or paddock. This will help make your live video more effective.
Think about any blind spots and change the positioning if needed for full coverage. If your camera has motion detection, set it to watch for movement in the desired area for reliable alerts.
Adjusting the camera’s position will help you see all the important details. This way, you can use your Equine Eye Camera to its fullest.
Connecting the Power Source
Connecting the power source is the next important step in setting up your Equine Eye Camera. Depending on the model, you may need to plug it into an outlet, connect it to a battery, or set up a solar panel.
Make sure the connection to a good power source is secure. This will help you monitor without interruption. If your camera runs on batteries, check the battery life and how it needs to be charged.
You might want to get a solar panel if you are in a sunny place. This way, you have a steady power source and won’t have to change or charge the batteries as often.
Testing Camera Functionality
Once you turn on the camera, test it to make sure it works well. First, check if you can connect it to your smartphone or computer. Ensure the live video feed shows up correctly.
Next, look at the camera’s settings and get to know its features. Test the night vision, motion detection, and recording options to see that they all work well.
If you run into any problems while testing, reach out to our tech support team. Our experts are ready to help with any questions you have or to fix any problems you face.
Fine-tuning the Camera Settings
Most Equine Eye Cameras have a user-friendly app. You can use it to change settings right from your mobile phone. Just log into the app to personalize your camera’s settings for what you need and like.
You can adjust notifications for motion alerts. This way, you will get updates on time. You can also change recording settings to fit your storage space and how long you want the footage to be.
Look for extra features in the app, like two-way audio, to make your experience even better. By fine-tuning these settings, you can make sure the camera works well for your monitoring needs.
Regular Maintenance and Adjustments
Maintaining your Equine Eye Camera is very important for its best performance and long life. You should make a cleaning routine. This means regularly wiping off dust and debris from the lens. This will keep your images clear.
If your camera is outside, check the camera’s case often. Look for any signs of wear and tear. Make sure to tighten any loose screws. It’s important that the camera stays securely mounted.
Also, keep an eye on the battery life of most wireless cameras. Remember to recharge or replace the batteries when needed. This helps to ensure that your monitoring is not interrupted and keeps your Equine Eye Camera working well for a long time.
Photo by @coldbeer
Conclusion
In summary, using the Equine Eye Camera can greatly improve how you monitor your horses. Follow the steps closely, like choosing the right spot and adjusting settings regularly, to keep it working well. This camera has special features that make it better than other systems. It is a great tool for taking care of horses. Use this smart technology to enhance how you care for your equine friends. Keep your horses in good shape with the Equine Eye Camera Brand.
Frequently Asked Questions
What tools do I need to install the Equine Eye Camera?
Your Equine Eye Camera comes with all the installation accessories you need. This means you won’t need any extra tools.
What are the benefits of using an equine eye camera for monitoring horses?
Equine Eye Cameras give you peace of mind by watching over your horses all day and night. They offer many benefits. You get better security, see problems early, and can check on your horse’s health from far away.
How does the Equine Eye Camera Brand differ from other equine monitoring systems?
The Equine Eye Camera brand is special because it is easy to use. It has great features, impressive night vision, and performs well. It also includes a one-year warranty and meets safety standards in New Zealand.


